轮廓检测
前言
本节学习使用OpenCV对图像进行轮廓检测功能,轮廓指图像中图形或物体的边缘线条。
实验目的
图像轮廓检测并画图显示。
实验讲解
OpenCV Python库提供了findContours()函数实现查找轮廓以及drawContours()描绘轮廓功能。
findContours() 使用方法
contours, hierarchy = cv2.findContours(image, mode, methode)
图像查找边缘坐标。返回contours表示轮廓点坐标list;hierarchy表示层次关系。
iamge:8位单通道二值图像。mode:检测模式。cv2.RETR_EXTERNAL:只检测外廓。cv2.RETR_LIST:检测所有轮廓,不建立层次关系。cv2.RETR_CCOMP:检测所有轮廓,建立2级层次关系。cv2.RETR_TREE:检测所有轮廓,立层树状层次关系。
methode:检测方法。cv2.CHAIN_APPROX_NONE:保存轮廓所有点。cv2.CHAIN_APPROX_SIMPLE:只保存水平、垂直、或对角线轮廓的端点。
drawContours() 使用方法
img = cv2.drawContours(image, contours, contourIdx, color, thickness, lineType, hierarchy, maxLevel, offset)
图像查找边缘坐标。返回contours表示轮廓点坐标list;hierarchy表示层次关系。
iamge:原始图像。contours:findContours()得到的list。contourIdx:索引方式,-1表示绘制所有轮廓。color:颜色。thickness:粗细,-1表示实心。lineType:轮廓线型(可选)。hierarchy:findContours()得到的层次关系(可选)。maxLevel:层次深度(可选)。offset:偏移量,改变绘制结果位置(可选)。
这里我们可以画一个实心圆和实心矩形,然后二值化图像,再查找轮廓和描绘轮廓,代码编写流程如下:
参考代码如下:
'''
实验名称:轮廓检测
实验平台:核桃派1B
'''

import cv2
import numpy as np

#新建一个300x300像素的RGB888纯白色图像
img = np.ones((300,300,3),np.uint8)*255

#画蓝色实心圆形 img0
img0 = cv2.circle(img, (100, 100), 50, (255,0,0), -1)

#画红色实心矩形
img = cv2.rectangle(img0, (150, 150), (250, 250), (0,0,255), -1)

cv2.imshow('color', img) #显示图像

#将彩色图像转化为灰度图像(单通道)
img = cv2.cvtColor(img, cv2.COLOR_BGR2GRAY)
cv2.imshow('gray', img) #显示图像

#将灰度图像转化二值图像
t,img = cv2.threshold(img, 127, 255, cv2.THRESH_BINARY)
cv2.imshow('binary', img) #显示图像

#检测轮廓
contours, hierarchy = cv2.findContours(img, cv2.RETR_LIST, cv2.CHAIN_APPROX_NONE)

#在原图img0上描绘轮廓,绿色
img = cv2.drawContours(img0, contours, -1, (0,255,0), 5)
cv2.imshow('contours', img) #显示图像

cv2.waitKey() #等待键盘任意按键按下
cv2.destroyAllWindows() #关闭窗口
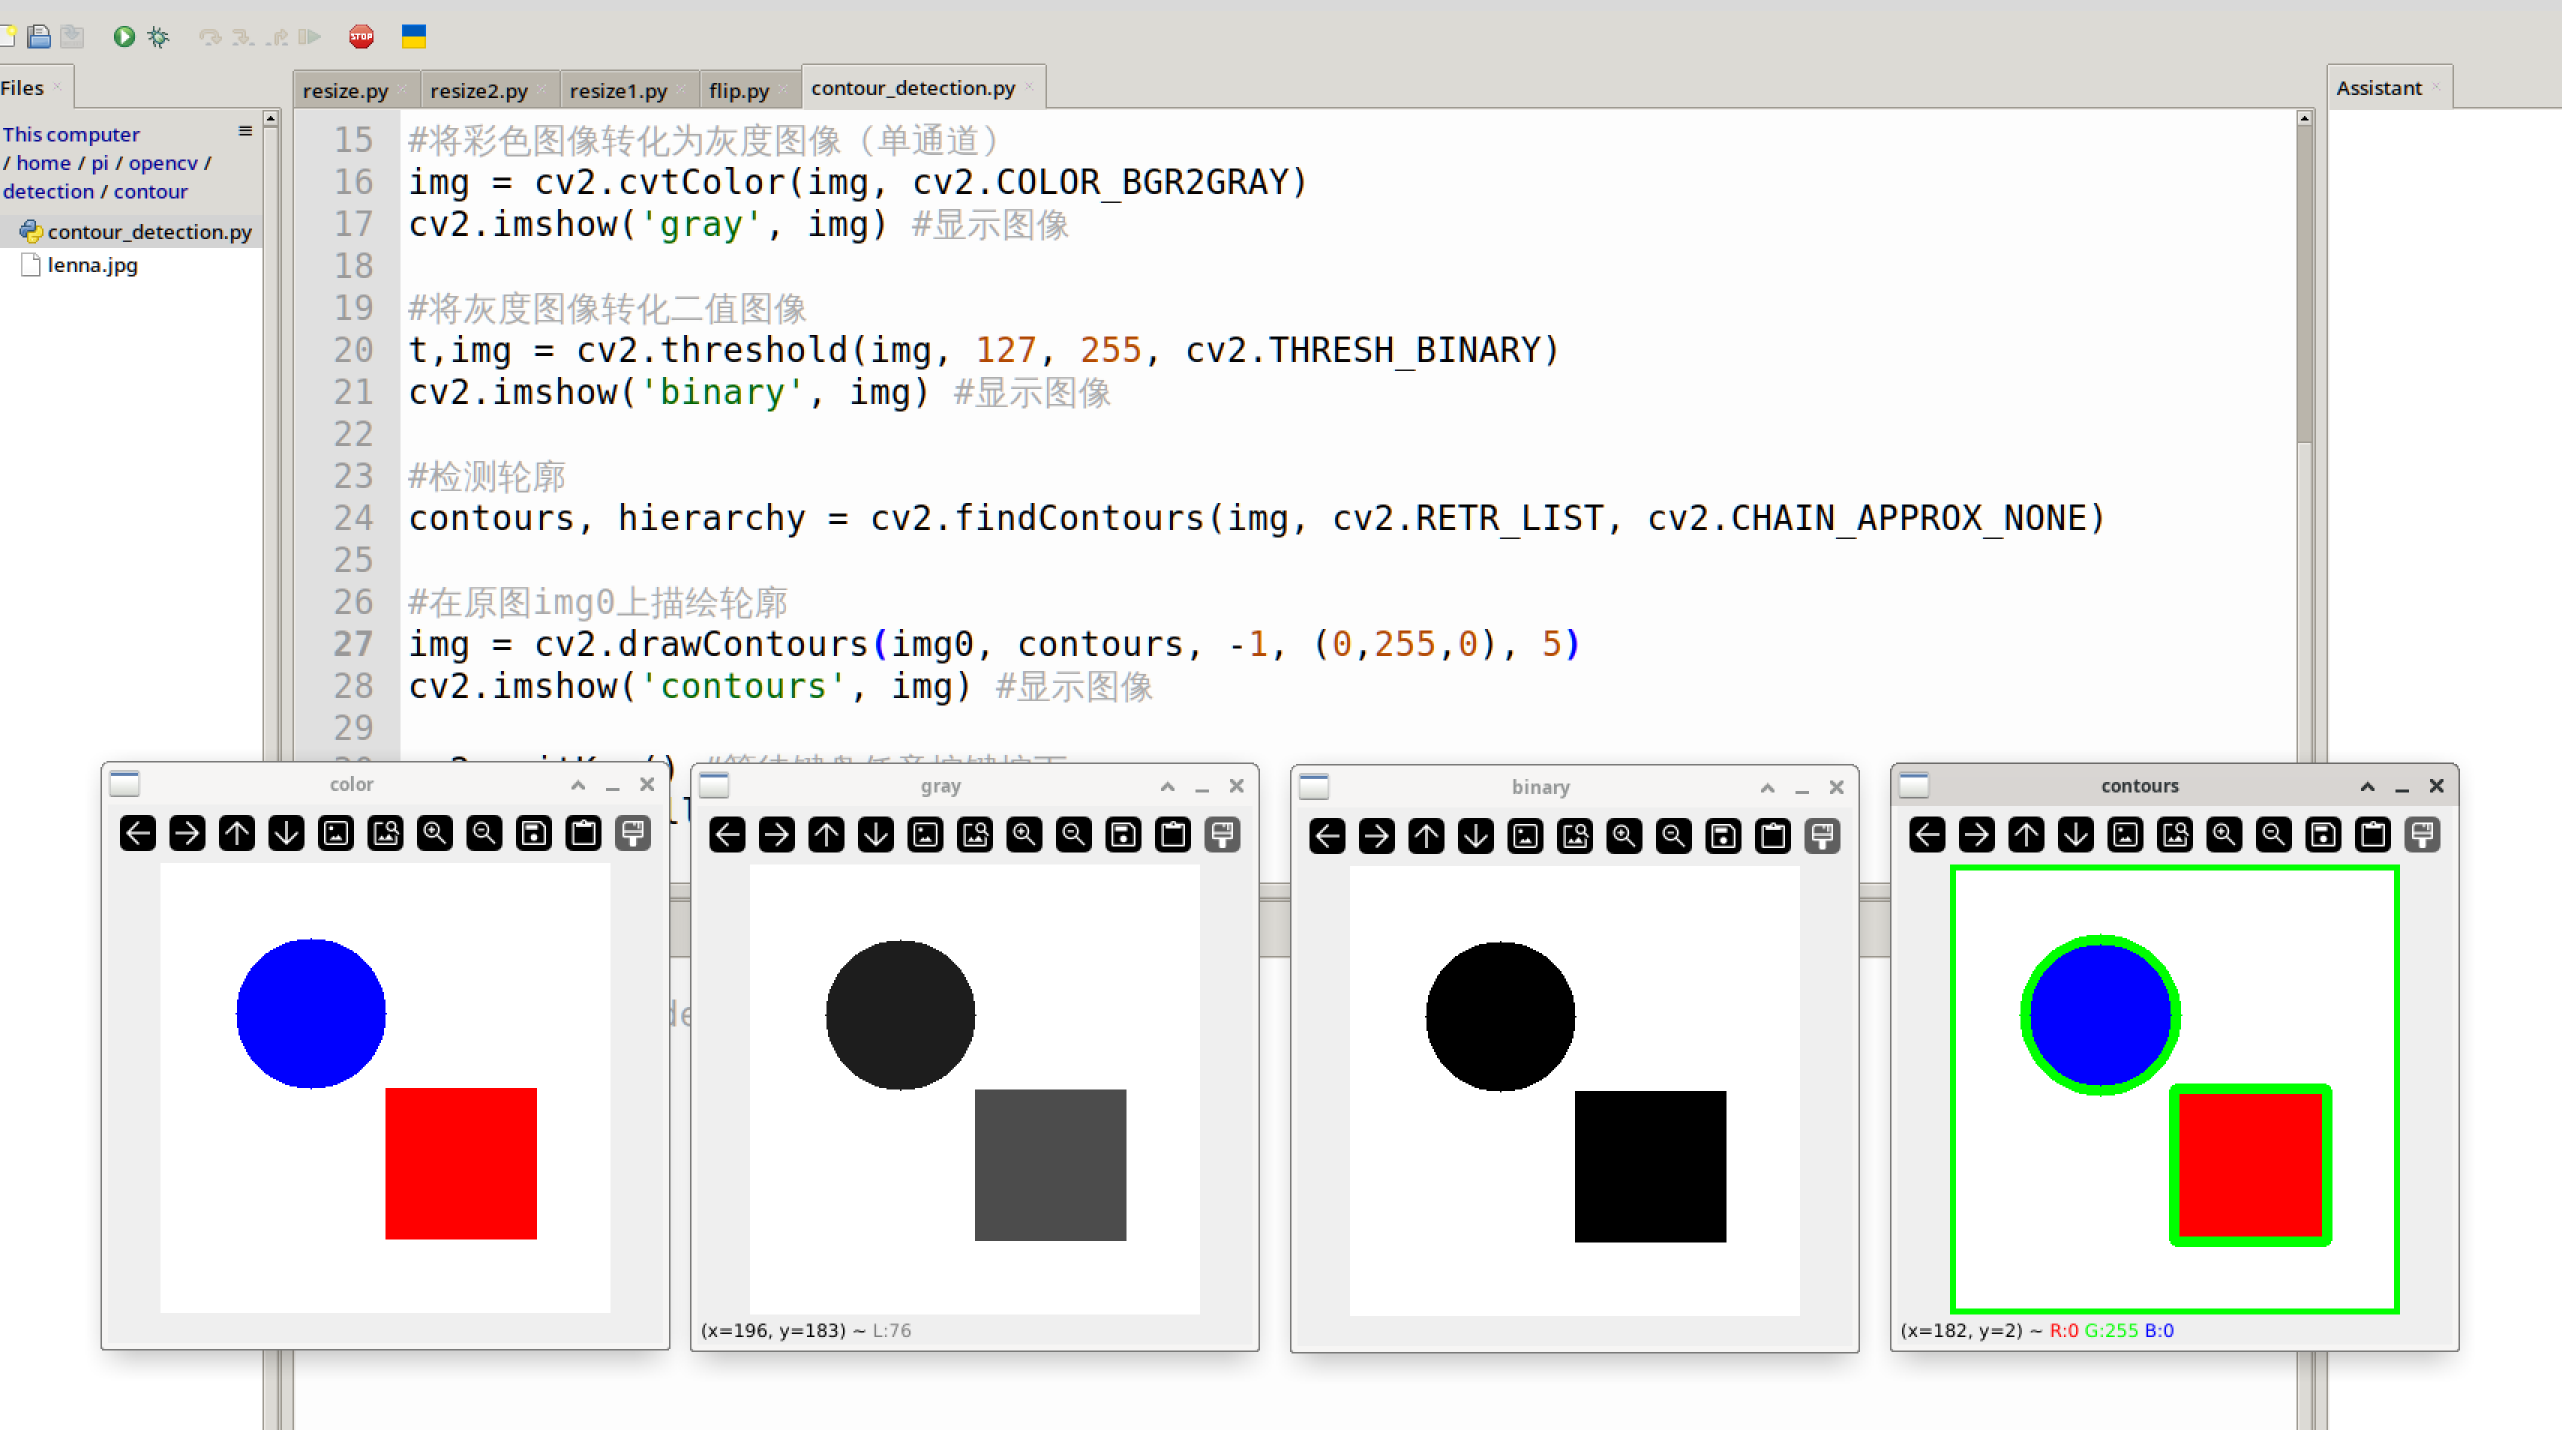
实验结果
在核桃派运行上面代码,可以看到实验图片的变化过程,最终轮廓被描绘出来实验结果如下图:
拓展
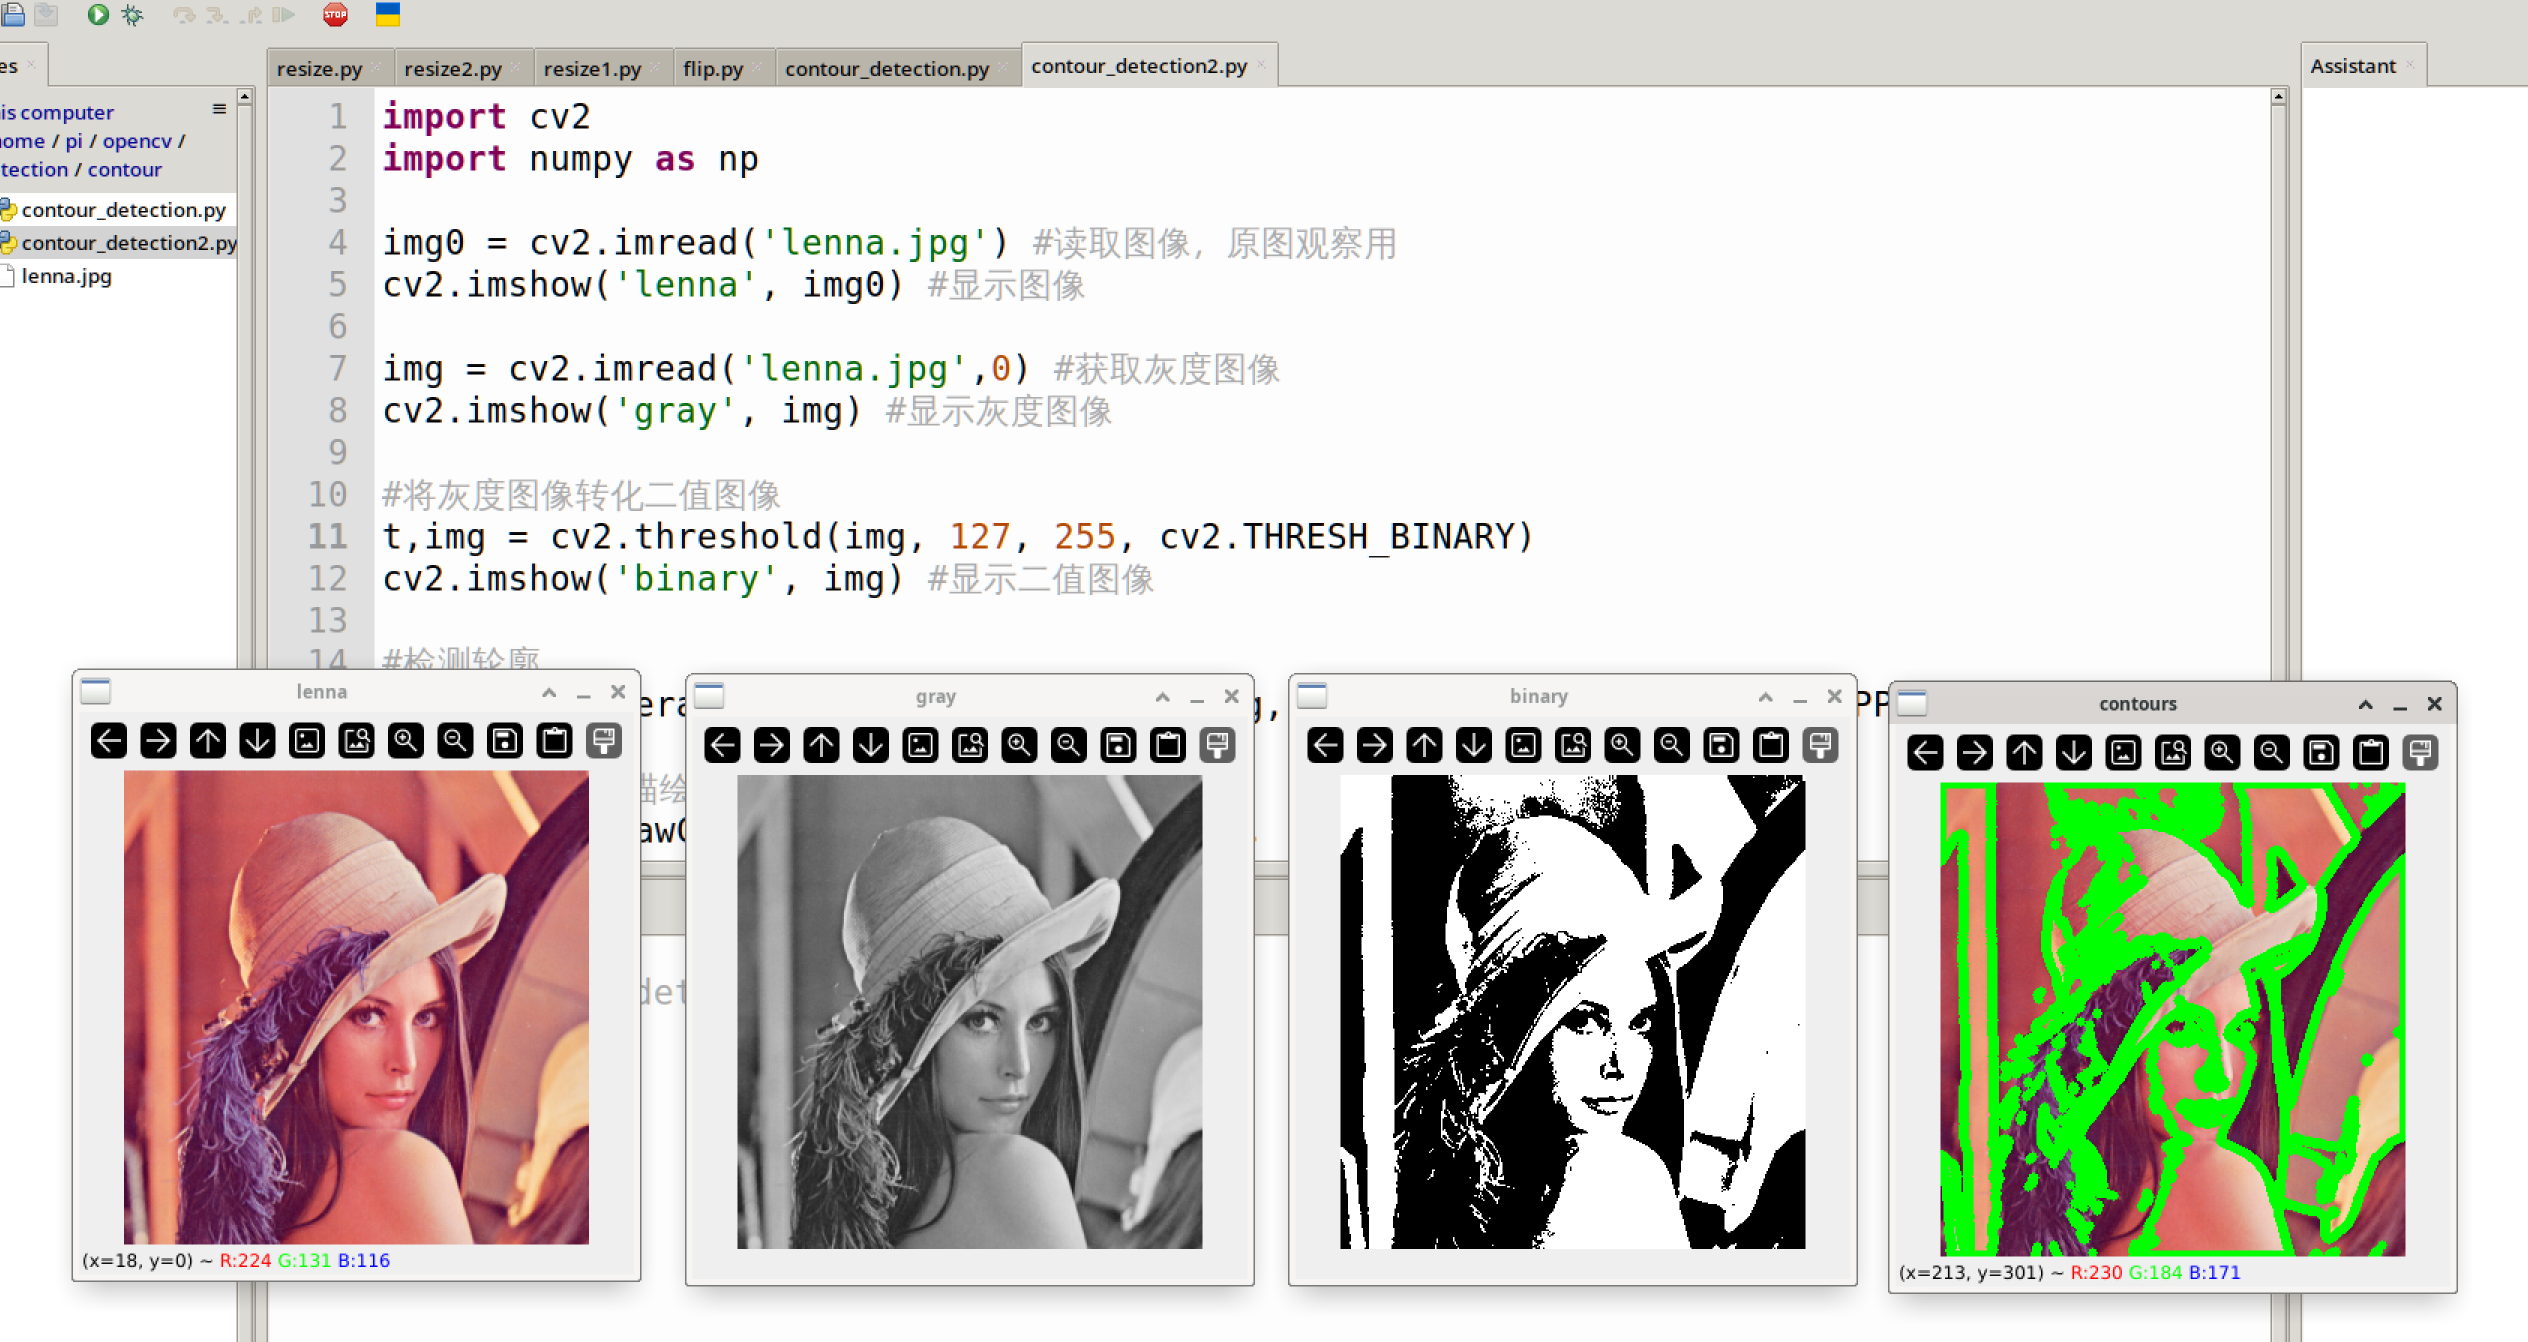
我们使用lenna.jpg描绘轮廓,观察结果。代码如下:
'''
实验名称:轮廓检测2
实验平台:核桃派1B
'''
import cv2
import numpy as np

img0 = cv2.imread('lenna.jpg') #读取图像,原图观察用
cv2.imshow('lenna', img0) #显示图像

img = cv2.imread('lenna.jpg',0) #获取灰度图像
cv2.imshow('gray', img) #显示灰度图像

#将灰度图像转化二值图像
t,img = cv2.threshold(img, 127, 255, cv2.THRESH_BINARY)
cv2.imshow('binary', img) #显示二值图像

#检测轮廓
contours, hierarchy = cv2.findContours(img, cv2.RETR_LIST, cv2.CHAIN_APPROX_NONE)

#在原图img0上描绘轮廓
img = cv2.drawContours(img0, contours, -1, (0,255,0), 5)
cv2.imshow('contours', img) #显示轮廓图像

cv2.waitKey() #等待键盘任意按键按下
cv2.destroyAllWindows() #关闭窗口
实验结果如下: